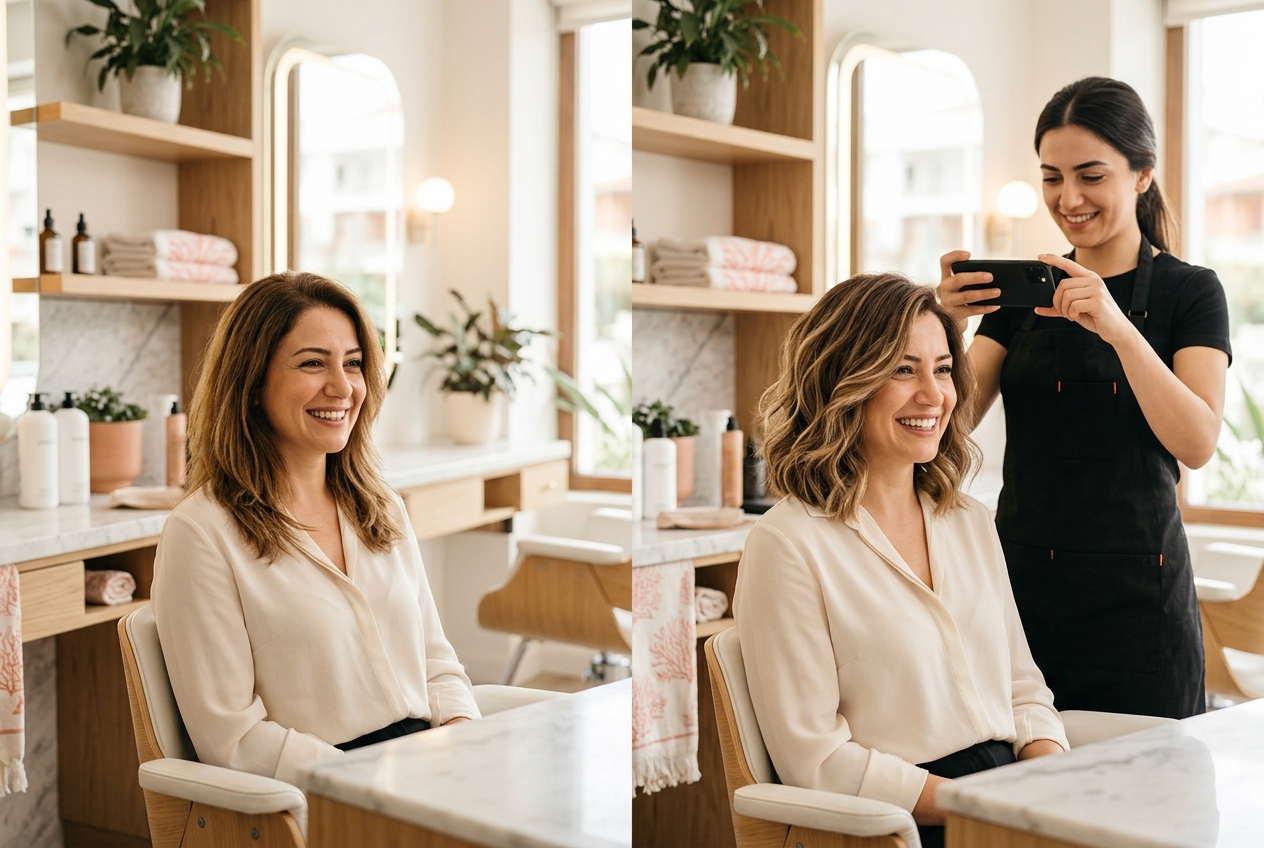
The work turned out beautifully. The color took perfectly, the cut sits just right, and your client is looking at herself in the mirror, smiling. Then you pick up your phone and say "May I take a photo?" — and that smile vanishes in an instant. Shoulders tense up, you hear "Oh, please don't get my face in it," and the mood turns awkward. Sound familiar?
Before-and-after photos are pure gold for your salon; they're the content type that brings in the most business on social media. But you can't earn that value by backing your client into a corner. The good news: with the right approach, the right words and a few practical tricks, you can put your client at ease and still come away with shots you can genuinely use for your marketing. Let's walk through it step by step.
Nobody who says "no" to the camera is doing it to slight you. Most people don't like their own photos, worry about looking tired at the end of the day, or feel uneasy because they don't know where that shot will end up. This isn't distrust — it's a completely human reflex.
Once you understand that reflex, your approach changes too. Your goal isn't to convince the client, but to offer them an option they feel comfortable with. When you come at it with "if you'd like" energy rather than "I have to get this shot" energy, you'll find the vast majority of people are far more open than you expected. The moment they don't feel pressured, saying yes becomes easy.
Sharing a photo isn't just a matter of courtesy; when it comes to protecting personal data, permission is essential. In many places, sharing a recognizable photo of someone on social media requires their explicit consent. We're not giving legal advice here; the general frame is this: sharing without consent is risky, sharing with consent is peace of mind. The healthiest thing is to build a clear habit of asking permission in your salon.
You don't need to turn this into a heavy, formal procedure. But instead of brushing past it with a quick "is that okay?", making clear what you're asking permission for puts everyone at ease. When the client knows what's going where, saying "yes" gets easier.
Timing is everything. Asking for a "before" photo when the client has just sat down, hair half-wet, waiting nervously, is the worst possible moment. Instead, before the work has even begun, during a natural bit of conversation, asking "shall I grab a quick shot of the starting point so we can show the result off properly?" flows much more smoothly.
For the "after", the best moment is that first burst of delight when the client is happy with the result. The second she looks in the mirror and loves what she sees is when you'll get both the most natural expression and the most willing consent. Waiting for that moment gives you a far better result than asking for a forced pose.
A brilliant cut looks ordinary in bad light. The good news: you don't need professional gear — you just need to mind a few basic rules. Your goal is to show the work as it is: no exaggeration, sharp and clear.
The single biggest difference-maker is light. Whenever you can, shoot in a spot that's close to daylight and evenly lit. Harsh salon spotlights coming from above cast shadows under the eyes and make the color look different than it really is. Shooting the before and after in the same spot, in the same light, is essential for the comparison to be believable; if the light changes, it stops being a "before-after" and becomes "two separate photos".
The biggest source of shyness is usually the face. Yet the hero of hair work is the hair, not the face. Leaving the face out of the frame instantly puts the client at ease and opens up a much safer space in terms of data protection. A photo of just the hair of an unidentifiable person carries no identity data, so it's far more comfortable to share.
What's more, these kinds of shots are aesthetically strong too. Shots of the nape, hair texture from above, waves cascading from the back, or details that show only the color transition tell the quality of the work far better than a face does on social media. Not showing the face isn't a compromise — it's often the more elegant choice.
Once you've learned a client's preference about photos, you don't have to wear them out by asking again every visit. Some say "you can always take one," some say "just my hair," and some never want it at all. Remembering that preference saves you time and gives the client the feeling of "they know me."
In SalonSync you can keep these little notes in the client record; jotting down their photo preference or the consent they gave onto the client's profile makes your work easier. This is an entirely optional convenience, not an obligation. The goal isn't to fill records with data, but to ask that person fewer questions and give them more attention at the next appointment. You can see how it works on the features page.
Smile, don't insist, and let it go. "Of course, no problem at all" is all you need to say. You can offer an alternative where their face won't show, but if they don't want that either, drop it entirely. A client relationship is worth far more than a single photo.
If the person isn't identifiable — only their hair or the back of their head is visible — the risk is much lower. Even so, for peace of mind it's healthiest to briefly ask "may I share just your hair?". That's both courteous and heads off any misunderstanding before it starts. For legal specifics, it's always best to consult a professional.
Both shots must be taken in the same spot, the same light and, if possible, the same angle. If the light or distance changes, the comparison loses its credibility. A small tip: remember exactly where you stood for the "before", and stand in precisely the same place for the "after".
That depends on how comfortable you want to be. Noting a verbal consent somewhere is a practical middle ground for most salons and protects you both later on. The general approach to personal data leans toward "consent is required"; for a definitive practice, we recommend seeking legal advice.
Photo preference, allergies, favorite color... In SalonSync, keeping little notes for each client is optional and practical. Join early access for free and turn your salon into a place that asks fewer questions.